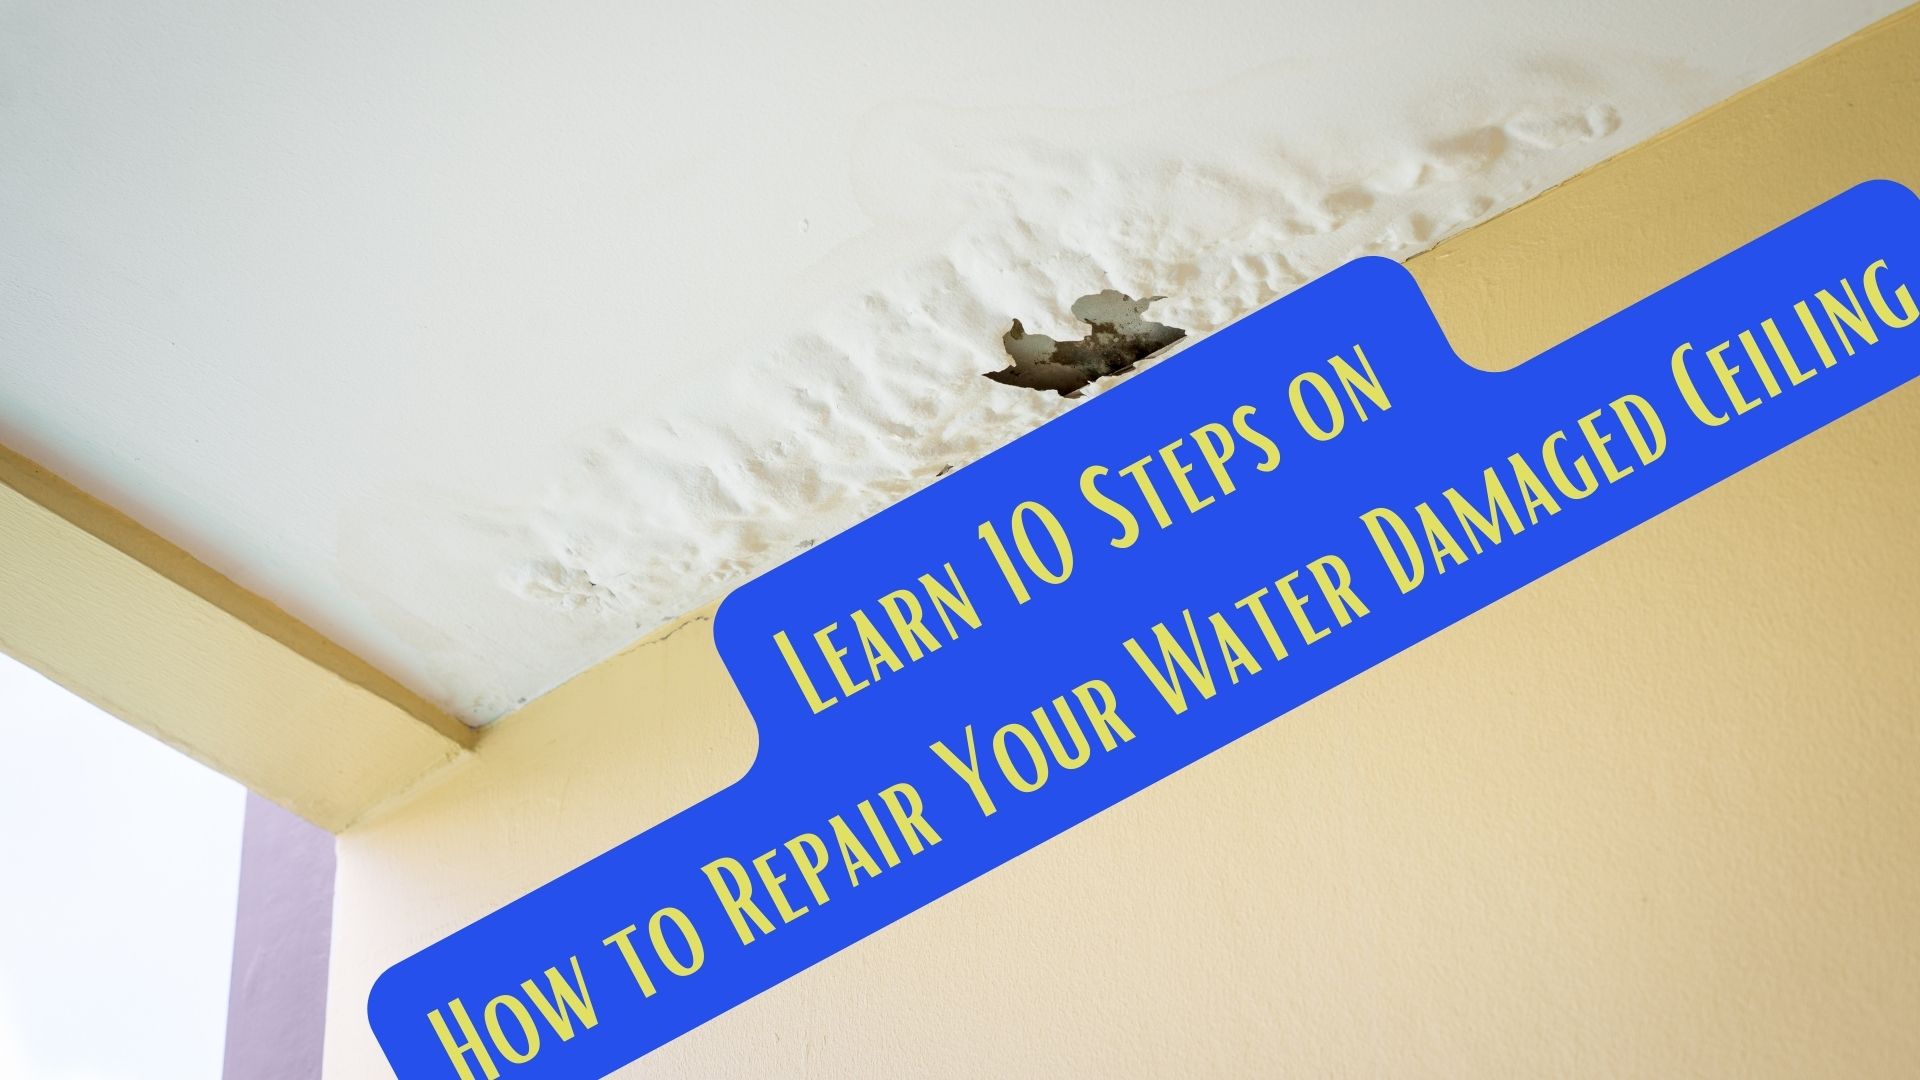
Mold remediation experts at Superior Restoration will give some insights on how to repair water damaged ceilings. Water leaking from the ceiling is a common problem that you shouldn’t ignore. Once you discover drops of water coming through the ceiling, act immediately.
Because if left untreated, ceiling water damage can lead not only to structural damage to your home but can also endanger your health. Taking care of water damage as soon as it happens will prevent bigger issues in the future. Read the full article on how to repair water damaged ceilings.
Is Water Damage Dangerous?
Yes. Water damage is not safe, be it a water stain in your ceiling or anywhere else, it can pose a threat to you and your property. Check the following number of different reasons why water damage is dangerous.
- It could end up with mold in your home. There are different types of mold but all produce spores that could be mixed in the air and can have an impact on your health.
- It can weaken the structural integrity of your property. If it gets into the ceiling, it can make the ceiling weaker and could cause it to collapse.
Repair Water Damaged Ceiling: Know the Signs
Be it a water damaged wall or water damaged ceiling, you should learn how to identify water damage before it becomes a more serious problem. Check the following signs on how to repair water damaged ceiling:
- Discoloration
- Standing or Pooling Water
- Rusty Metal
- Mold Growth/ Musty Smell
Before You Start to Repair Water Damaged Ceiling or Any Cleanup
For your safety, shut off the power supply if the water is running close to any electrical wiring to avoid electric shock. Be extra careful when standing under a ceiling because it might cave in on you if it is holding too much water.
It’s best to inspect the ceiling first before you enter the room to see if there are any watermarks/stains, discoloration, or bulging ceiling.
How to Repair Water Damaged Ceiling
Check out these steps on how to repair water damaged ceiling.
Step 1: Assess the damage and find out the extent of it.
Step 2: Try to reduce the amount of water trapped inside the ceiling. You can do this by gently poking small holes through the ceiling using a nail, ice pick, screwdriver, or knife will also do.
Be careful when doing this to avoid water rushing all out and flooding the room. Also, make sure to place a bucket underneath the hole you’re making for water drip collection.
Step 3: Check the water source and the affected areas before you repair water damaged ceiling.
Once you identify the source of the water leak, fix it. If water damage is due to a leaking roof, repair the roof right away (if the weather is fine). You can fix this or remove the damaged ceiling on your own but simply call a professional for roof repair.
If it is not possible yet to seal the roof due to bad weather, cover it with canvas or any water-proof sheeting to stop water from coming in through the hole.
Stop the supply of water if the cause is a burst pipe and call a professional plumber to help you fix the pipe.
Step 4: Before you proceed with cleanup, spread a tarp over the furniture and the floor for protection. Get rid of all wet ceiling materials such as insulation and sheetrock.
Remove all loose and peeling drywall or plaster. Dry out the ceiling as fast as you can to prevent mold and reduce damage.
You can use high-volume fans and dehumidifiers for quick drying of the ceiling and other ceiling materials like wood joists. Salvageable materials should be dried, too.
Step 5: Prepare an anti-mold solution and spray the water-damaged area.
Step 6: For minor ceiling water damage, you can use plaster or drywall mud to fix small gaps and cracks. And you can fill the small holes with joint compounds.
For gaps that are less than half an inch wide, use a putty knife or utility knife to fill the gaps and leave a smooth finish. For gaps that are wider, fill them in first and then sand them smoothly.
Step 7: For major ceiling water damage, sections of the ceiling should be cut away. You can use a box cutter or a saw that is intended for drywall and make straight cuts.
Step 8: Cut a new piece of drywall. It should be smaller than the hole and then screw it into the ceiling joists. To seal the gaps, mud, tape the joints, and smooth out the ceiling.
Step 9: For plaster, replace the backing material or the lathe then apply the plaster in thin layers. Allow it to dry and continue to apply layers until the existing texture matches the new section.
Step 10: Paint the damaged part with a sealing primer once the plaster or mud is dry. But before applying the topcoat, it is necessary to try at least two coats of primer.
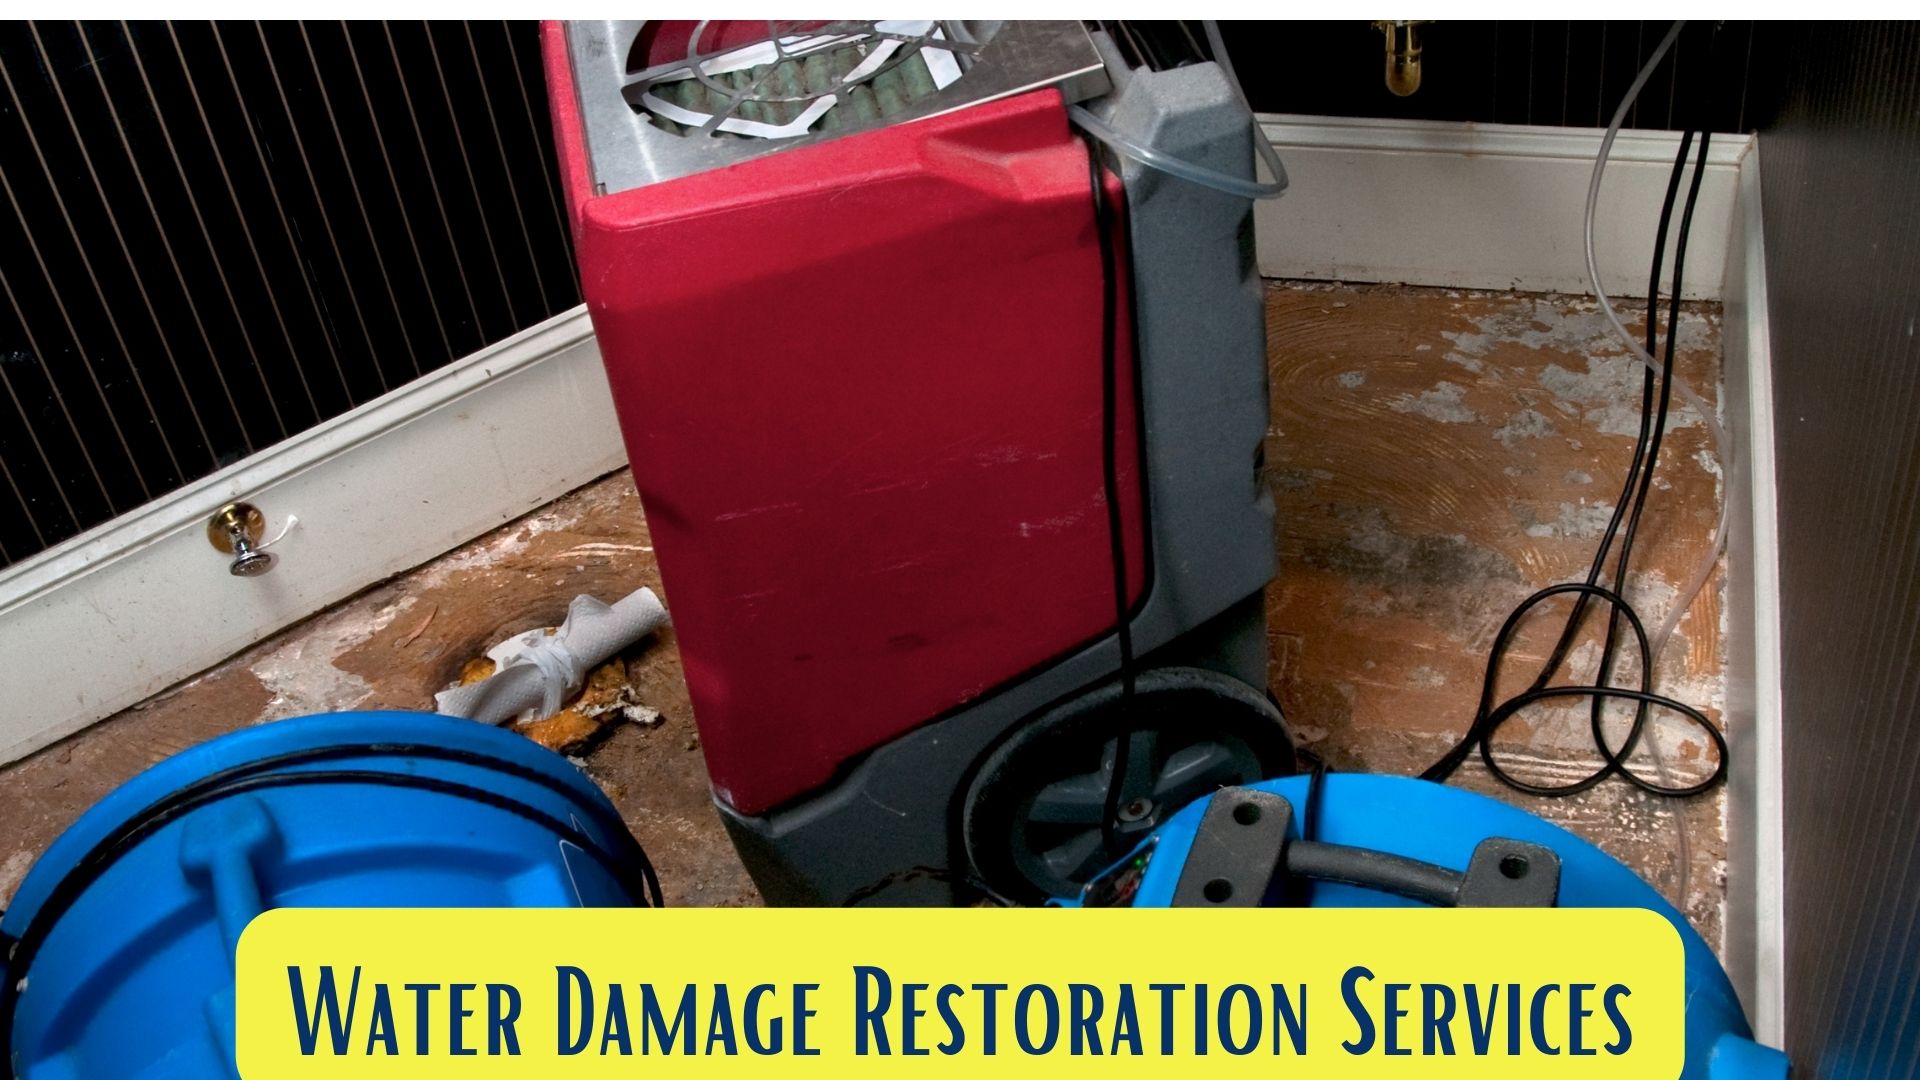
Repair Water Damaged Ceiling with Professional Water Damage Restoration Services
 You don’t know when leaks will happen, you don’t even know when water damage has started. But there is one thing that you can be sure of.
That is—the skilled professionals at Superior Restoration will be there for you, especially in emergency situations.
We have advanced tools and equipment to repair water damaged ceilings and make your home dry and safe again. Please contact Water Damage Murrieta, today!
We specialize in water damage remediation and emergency water extraction services. You can rely on us 24/7/365.